
Last updated November 2, 2026
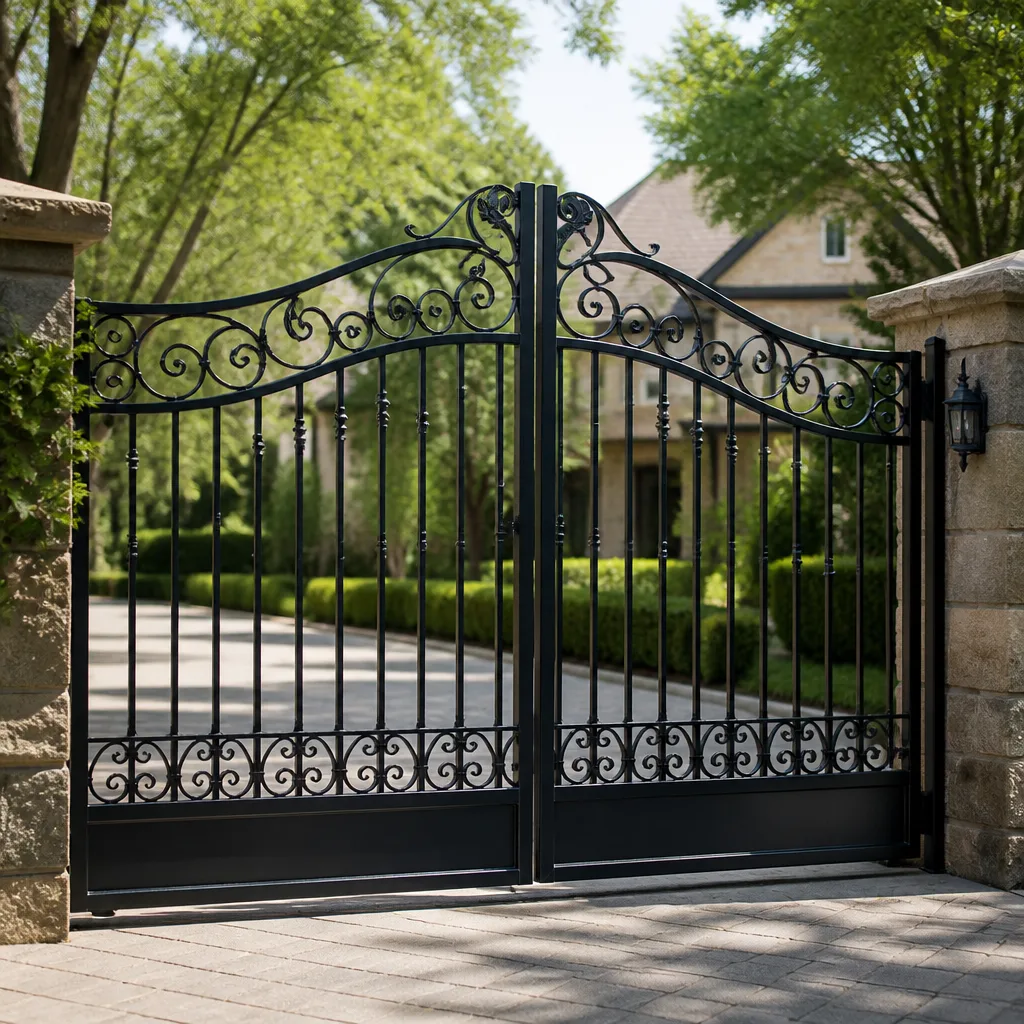 Wrought iron
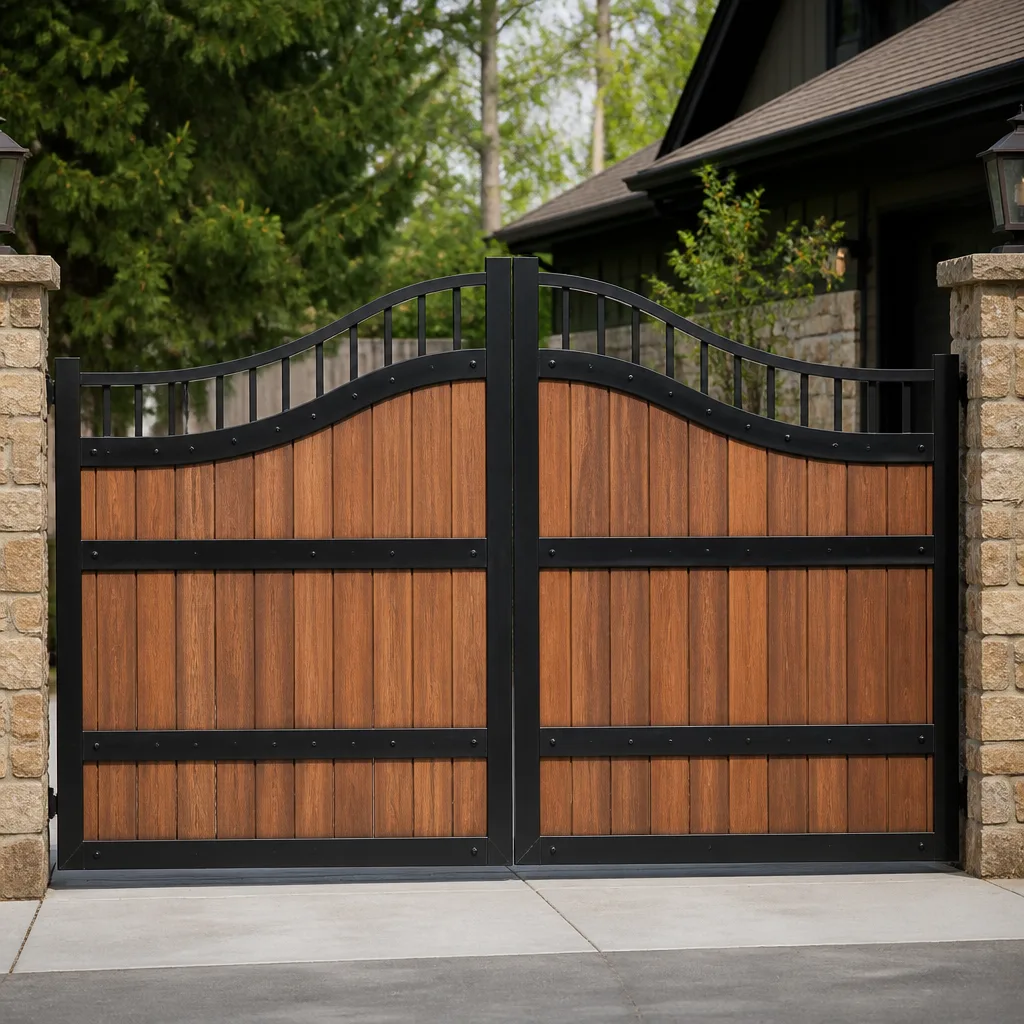 Wood & steel frame
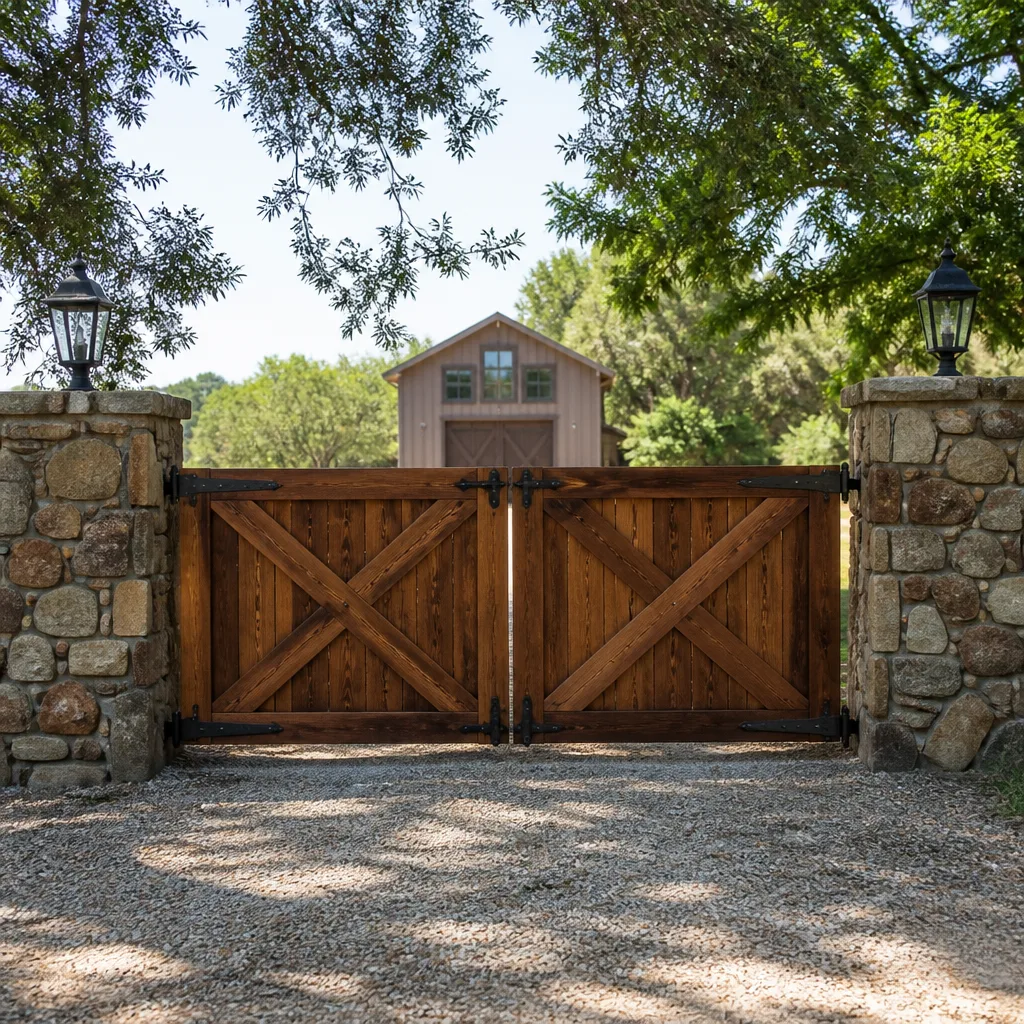 Farm & ranch
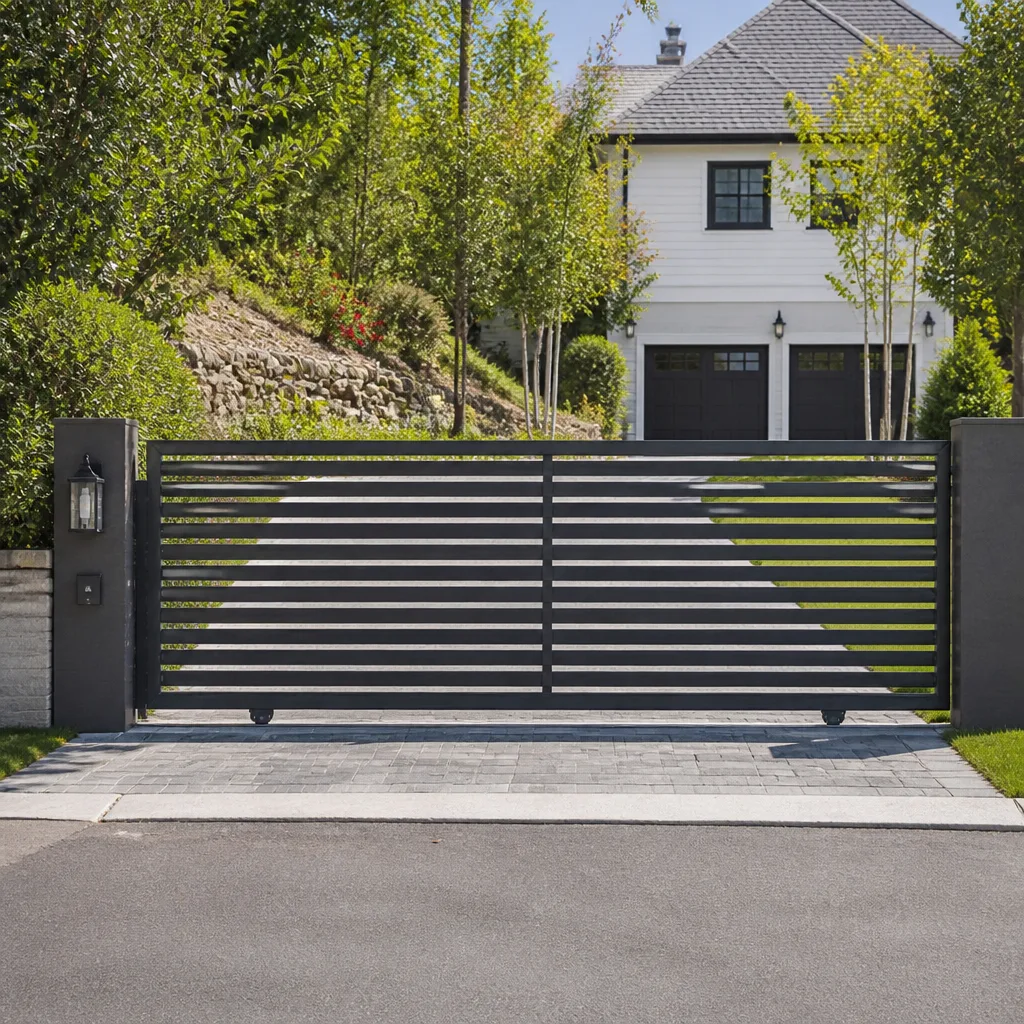 Sliding driveway gates
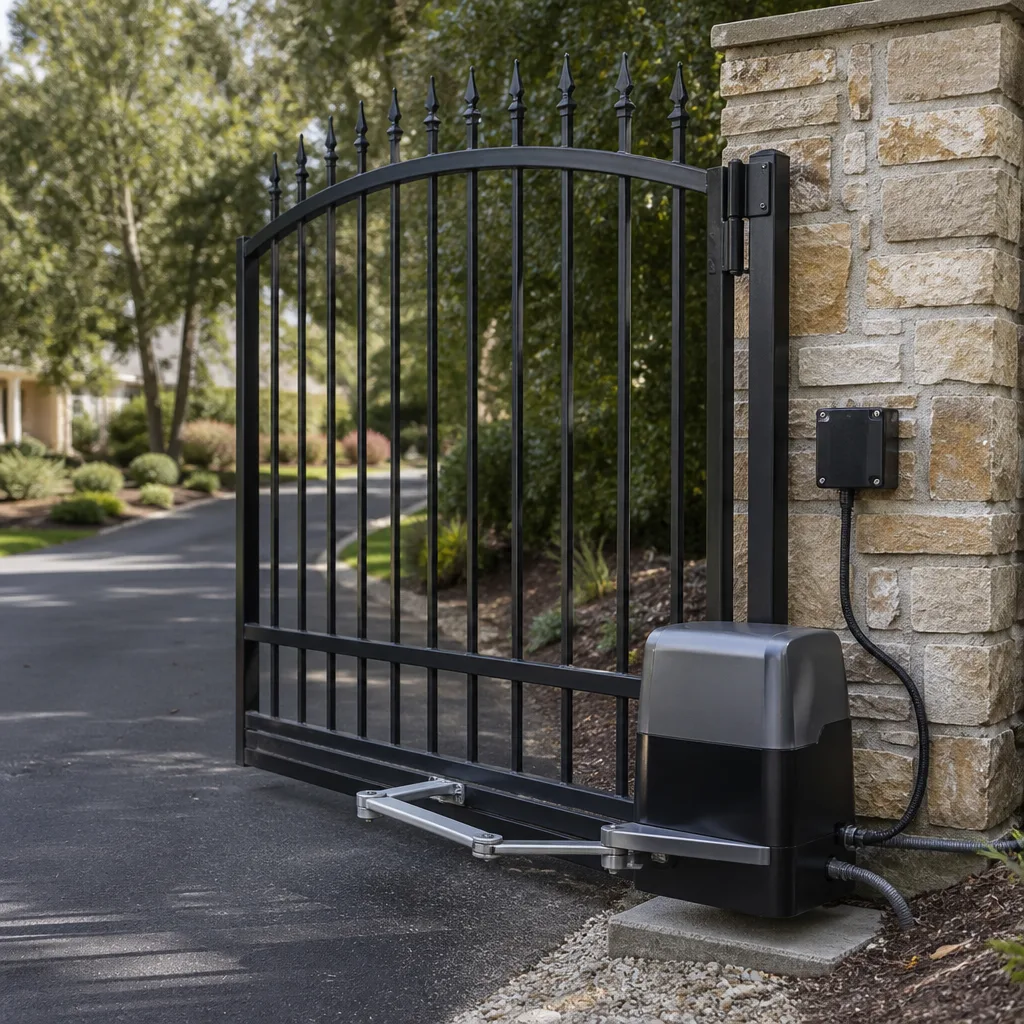 LiftMaster operators
Free on-site gate assessment - hinges, posts, and your LiftMaster or Nice gate operator checked before anything is quoted
The assessment is free and the quote is the invoice.
Get your free estimateGate Repair Maintenance Checklist for Del Paso Park Homeowners
Here’s the counterintuitive truth we see on service calls across Del Paso Park every month: the most common reason gate operators die young isn’t mechanical fatigue. It’s lubrication with the wrong product. WD-40, motor oil, whatever’s sitting on the garage shelf. These attract fine dust from the American River Parkway corridor and the surrounding streets, turn into grinding paste inside the gearbox, and chew up internals faster than running the operator completely dry. What reads as a “worn-out motor” to most homeowners is usually a $12 tube of grease and 20 minutes of maintenance. This guide gives you a pass/fail checklist for every major component on your gate system, tailored to Del Paso Park’s specific heat, dust, and usage conditions, so you can stop failures before they strand your car on the wrong side of the driveway.
Quick Answer
The essential gate maintenance checklist for Del Paso Park homeowners covers five systems: hinges and pivot points, the operator motor and gearbox, safety sensors, limit switches, and the gate’s physical alignment. Twice a year, you should clean and lubricate moving parts with the correct product for your drive type, test that the gate reverses on obstruction, verify limit stops are set correctly, and log everything you did. This prevents about 70% of the failures that would otherwise require our Gate Repair services.
Styles & brands we work with
- Wrought iron
- Wood & steel frame
- Farm & ranch
- Sliding driveway gates
- LiftMaster operators
Table of Contents
- Seasonal Maintenance Schedule for Del Paso Park’s Climate
- Hinge and Pivot Point Checklist
- Operator Lubrication: Matching Product to Drive Type
- How to Test Safety Sensors and Limit Switches in Under Five Minutes
- Spotting a Motor That’s Working Too Hard (Without a Meter)
- Track, Chain, and Rack Alignment Checks
- The Maintenance Log That Saves You Money
- Common Mistakes to Avoid
- When to Call a Professional
- Frequently Asked Questions
Seasonal Maintenance Schedule for Del Paso Park’s Climate
Del Paso Park gets five months of serious heat and six months of fine airborne dust. That combination does two things to gate hardware: it accelerates evaporation of lighter lubricants and it coats every exposed surface with abrasive particulates. Your maintenance calendar needs to account for both.
Run this schedule twice a year. Once in late spring, before the worst heat hits, and once in early fall, after the dustiest stretch has settled. If your gate faces an unpaved alley or sits near active construction on Del Paso Boulevard, add a third inspection mid-summer.
Spring Inspection (May)
- Clean all visible dust and debris from the operator housing and track before lubricating anything
- Re-torque hinge bolts and check for sag
- Test the auto-reverse function on both the gate panel and the safety loop if installed
- Check that the gate’s open and close limits still land flush without slamming
- Replace operator cover gaskets if cracked or dried
Fall Inspection (October)
- Deep-clean the rack, chain, or worm gear after dust season
- Lubricate per the drive-type chart below
- Inspect wiring connections for corrosion from summer humidity swings
- Run a full open-close cycle three times in a row and note any hesitation
- Log everything in your maintenance record
Many Del Paso Park homes have gates that run 8 to 12 times per day between work commutes, school runs, and the steady stream of deliveries that characterize the neighborhood. That’s 3,000 to 4,400 cycles per year. Commercial operators are rated around 100,000 cycles for comparison, but residential units from Mighty Mule or Ghost Controls are built for lighter use. Skipping seasonal maintenance on a high-cycle residential gate is the equivalent of skipping every other oil change.
Hinge and Pivot Point Checklist
Hinges are the easiest thing to inspect and the easiest thing to ignore. Here’s what failing hinges tell you, in order of severity, based on what we see on service calls throughout Del Paso Park’s residential streets.
Pass/Fail Criteria for Hinges
- PASS: No visible metal dust or rust-colored powder at the hinge pin when you wipe it with a rag
- PASS: The gate panel moves smoothly by hand with no grinding sensation
- PASS: You cannot lift the gate panel vertically more than a quarter inch at the hinge end
- FAIL: Orange or gray metal dust around the pin, indicating the bearing surface is grinding itself down
- FAIL: A visible gap difference between the top and bottom hinge when the gate is closed
- FAIL: The gate makes a creaking or popping sound that changes when you push on different parts of the panel
What to Do
- Wipe each hinge clean with a dry rag. Do not use a pressure washer, it forces dust deeper into the bearing surface.
- Apply one drop of a heavy machine oil or a dedicated hinge lubricant directly to the pin joint, top and bottom.
- Swing the gate through a full open and close cycle by hand (disengage the operator first) to work lubricant into the joint.
- Tighten any loose hinge bolts to the manufacturer’s torque spec. If you don’t have the spec, snug them plus a quarter turn. Do not over-tighten, stripped hinge bolts are a far bigger repair than loose ones.
One Del Paso Park-specific note: homes with mature trees nearby get more organic debris buildup in hinges than homes on open lots. Elm and sycamore leave a fine powder that cakes into the grease. If you have a large tree within 20 feet of the gate, clean the hinges monthly during the fall leaf drop.
Operator Lubrication: Matching Product to Drive Type
This is where the tire meets the road and where most homeowners get it wrong. There is no universal lubricant that’s correct for every gate operator. The right product depends entirely on your drive mechanism. Here’s the table we use when training technicians at Gate Repair Del Paso Park home service area.
Lubricant Selection by Drive Type
| Drive Type | Correct Lubricant | Never Use | Application Point |
|---|---|---|---|
| Chain drive | Dry chain wax or silicone spray | WD-40, motor oil, white lithium grease | Exposed chain links only |
| Worm gear reduction | NLGI #2 lithium complex grease | Spray lubricants of any kind | Inside gear housing, contact surface only |
| Rack and pinion | Dry graphite or moly-based open-gear compound | Grease, wax, anything that stays wet | Gear teeth contact faces |
| Belt drive | No lubrication required, ever | Anything | N/A, replacement when glazed |
Why Wrong Lubricant Kills Operators
Wet lubricants on a chain drive attract dust. Over three to four months in Del Paso Park’s dry season, that dust builds into a paste between the chain links and the sprocket teeth. The motor now has to push through that grinding compound every cycle. Current draw climbs, the control board gets hotter, and the motor’s service life drops by half or more. We’ve replaced operators on gates less than two years old where the only original failure was the homeowner greasing the chain every month with whatever was in the cabinet. A LiftMaster operator with a properly maintained chain will typically outlast the same unit with a wet-lubricated chain by a factor of three.
For worm gear drives, the gear faces run under extreme pressure. That’s what they’re designed for. But any light spray lubricant will flow away from the contact surface within days and leave it effectively dry. The unit runs hotter, the gear face galls, and you get a progressive grinding noise that eventually locks the operator. Not every operator brand exposes the gear housing for re-lubrication, some Elite and DoorKing units are sealed at the factory, but for those that have a service port, use a heavy lithium complex grease and reapply twice a year.
If you’re not sure what drive type your operator uses, the quickest way to tell is to remove the cover and look. A chain looks like a bicycle chain. A rack and pinion shows a flat bar with gear teeth running along the gate panel itself. A worm gear housing is a compact, often circular gearbox directly attached to the motor. If you’re still unsure, check our Gate Repair Troubleshooting: Common Problems and How to Fix Them guide, or call us – this is exactly the kind of quick diagnostic question we answer every day. You can also check your unit’s model number against the manufacturer’s maintenance sheet.
How to Test Safety Sensors and Limit Switches in Under Five Minutes
Safety sensors and limit switches are the two components most likely to cause intermittent problems that aren’t obvious on a casual glance. They’re also the two components that protect your family, your vehicle, and your pets from a gate that decides to close on them. Here’s a tool-free test sequence that takes less than five minutes and catches most common failures.
Step-by-Step Sensor Test
- Start with the gate in the fully open position.
- Look at the safety sensor pair mounted near the bottom of the gate opening, one on each side. Both should have a small indicator light. If either light is out, blinking, or dimmer than the other, that’s a fail.
- Pass a cardboard box or a trash can through the gate opening at knee height while the gate is open. The sensors should register the obstruction.
- Now press the close command. The gate should not move, or should immediately reverse if it started. If it continues closing past the obstacle, the sensors are not communicating.
- While the gate is closing, quickly wave your hand across the sensor beam path. The gate should reverse direction within one second. If it brushes through your hand without reversing, that’s a hard fail. Stop using the gate and call for repair immediately.
Limit Switch Check
Limit switches tell the operator where to stop opening and where to stop closing. When they slip or fail, the gate over-travels. You’ll see the gate slam into the end stop, or the motor continues humming after the gate has seated, which is bad news for the motor and the gearbox. Here’s how to check without opening the operator:
- Watch the gate close. Does it land gently against the closed position, or does it hit and bounce back slightly? Bounce-back indicates the close limit is set too aggressively or has slipped.
- Watch the gate open fully. Does the operator shut off cleanly when the gate reaches full extension, or does the motor keep running for a second or two? A lingering motor hum means the open limit isn’t tripping.
- Listen for a distinct click from the operator when the gate reaches each end of travel. On mechanical limit switch units, that click is the switch disengaging. No click means the switch isn’t being actuated.
On operators from DoorKing and Elite, limits are often set digitally through the control board, and testing them without opening the operator means watching travel behavior carefully. On Mighty Mule and Ghost Controls units, limits are typically magnetic or mechanical and the same observational test applies. If the gate travels too far in either direction, you’ll hear the motor strain against the mechanical stop. That’s a limit failure, and it’s a same-day fix if you call before the motor burns out.
Spotting a Motor That’s Working Too Hard (Without a Meter)
We use clamp meters on service calls to measure actual current draw against the manufacturer’s rated spec. That’s the definitive test. But homeowners can spot the warning signs of an overloaded motor long before a technician arrives. A motor working too hard is a symptom, not a cause. It means something downstream is creating resistance, and finding that resistance early is what keeps a $200 repair from becoming a $600 operator replacement.
Warning Signs of Excessive Motor Load
- Slower travel time: Time your gate from fully closed to fully open with a watch. If it’s taking 20% longer than it did three months ago, resistance is building somewhere.
- Heat at the operator housing: Place your hand flat on the operator cover after 10 cycles. Warm is normal. Hot enough that you can’t hold your hand there for five seconds is not. That’s an overloaded motor shedding heat.
- Pitch change under load: A motor that sounds normal at rest but audibly drops in pitch when the gate starts moving is working too hard. The deeper sound is the motor slowing against resistance.
- Burnt electrical smell: This is never normal. If you can smell ozone or burnt varnish near the operator, shut the unit down at the breaker and call us. The motor windings are overheating.
- Visible arcing or sparks at the capacitor: Some operators have external start capacitors. Arcing is a capacitor that’s working too hard, which almost always means the motor is working too hard.
What Causes Excessive Load in Del Paso Park Conditions
In this neighborhood specifically, the three most common causes we see are dust-packed bearings, a gate panel that’s out of square, and the wrong grease on the drive mechanism. The first we covered in the lubrication section. The second is physical: a heavy steel or wrought-iron gate that’s sagging by even half an inch at the latch end creates a constant side-load on the operator. The motor has to overcome that binding force on every cycle. The third is user error, and our technicians see it constantly on service calls around Del Paso Park’s older residential gate systems.
If you notice any of the loading signs above, stop using the gate. Disengage the operator and swing the gate by hand. A properly aligned gate should move with consistent, moderate resistance through its full travel. If it gets harder to push at any point, or if the panel feels heavier on one side, you’ve found the mechanical issue. That’s the part we need to fix. Replacing the operator without fixing the mechanical issue just kills a new motor in six months.
Track, Chain, and Rack Alignment Checks
Slide gates in Del Paso Park live a harder life than swing gates, largely because of dust. A slide gate’s track sits at ground level, which is exactly where every bit of airborne particulate from the street eventually settles. The track becomes a collection trough for sand, decomposed granite from local landscaping, leaf matter, and the occasional stray rock. Proper alignment and cleanliness here keep the entire system healthy.
Visual Alignment Sequence
- Close the gate fully and kneel at either end of the track. Sight down the rail. It should be straight and level with no visible dips, curves, or bends.
- Check the gap between the gate’s bottom rollers and the track surface at three points: front, middle, back. The gap should be consistent. If the gate is riding higher at one end, the track has settled or was never set level.
- Look at the rack or chain for shiny spots. Consistent wear means healthy contact. Polished spots in only one small area mean the gate is hanging up at that point.
- Inspect the chain tension. A properly tensioned chain should deflect no more than one inch when you press down with moderate thumb pressure at the midpoint. Too tight, and the motor works against itself. Too loose, and the chain slaps or binds on the sprocket.
- Clean the entire track channel with a leaf blower, then a stiff brush. Remove anything stuck in the track groove. Debris in the track is the single most common cause of slide gate derailments in this area.
When to Call
If the track has visible bends, if the gate has come off its rollers, or if you’ve cleared the track and the gate still binds, the issue is structural, not routine maintenance. Gate realignment on larger slide gates sometimes requires lifting equipment and resetting the concrete footing. That’s not a weekend project. The electric gate repair experts at Gate Repair Del Paso Park handle track resets and panel re-leveling as part of their standard service rotation, and estimates are free.
The Maintenance Log That Saves You Money
Every technician who’s ever worked on a machine likes paperwork. Not because we enjoy it, but because a maintenance log tells us what happened before we arrived. In the gate world, “it was making a weird sound last month but it stopped” is a critical clue. A written log transforms that vague memory into actionable diagnostic information. It also keeps you honest about whether maintenance actually happened or if the last “inspection” was two years ago.
What to Record
- Date of each inspection or service
- What you checked: hinges, operator, sensors, limits, track
- Pass or fail result for each item
- Lubricant type used, if any
- Any observations: sounds, hesitation, temperature, visual wear
- Any corrective action taken
- Technician name and company, if a professional service was performed
Simple Log Format
| Date | Item Checked | Result | Action Taken | Notes |
|---|---|---|---|---|
| 05/14 | Hinges, operator | Pass | Lubricated chain with dry wax | Gate slightly slower on open |
| 05/14 | Safety sensors | Pass | None | Both indicator lights on |
| 05/14 | Limit switches | Fail | Adjusted close limit | Gate was bouncing on close |
Keep this log wherever you keep your other home maintenance records. Don’t overthink it. A spiral notebook and a pen taped to the side of the operator housing works. What matters is that when you call us for service, or when you’re trying to convince yourself the gate has been fine all year, there’s a record to consult. Homeowners who keep a log spend meaningfully less money on emergency repairs because problems get caught at the “adjusting a limit switch” stage rather than the “replacing a seized gearbox” stage. If you’re considering a new gate installation for your Del Paso Park property, start the log on day one. Clean data from the first cycle is worth far more than partial data from year six.
Common Mistakes to Avoid
- Using WD-40 as a lubricant. WD-40 is a water displacement product, not a lubricant. On gate chains and gears it strips existing lubrication and leaves a light film that evaporates within days, after which the metal runs dry and wear accelerates sharply.
- Greasing a track that has debris in it. If you lubricate before you clean, you create a slurry of grease and dirt that the rollers then press into the metal. This is worse for the track than never lubricating at all. Always clean first, lubricate second.
- Ignoring a slow gate because it “still works.” A gate that’s 30% slower than it was six months ago is telling you something. The motor is working harder, the control board is running hotter, and something mechanical is dragging. Fixing the drag now costs less than replacing the operator later.
- Setting limits by ear. Some Del Paso Park homeowners adjust their own limit switches until the gate “sounds right.” Without proper position verification, the gate can over-travel and slam, or under-travel and leave a gap a child or pet could try to squeeze through. Limits exist for safety as much as convenience.
- Disconnecting the auto-reverse because it’s “too sensitive.” This is the most dangerous thing on this list. If the gate reverses on what looks like nothing, that means the sensor is detecting something: a low branch, a misaligned photo eye, a pet in the path. Disabling the safety function turns your gate into a hazard. Call for service instead.
- Lubricating belt drives. Belt drives from any manufacturer are designed to run dry. Any lubricant attracts dust and accelerates belt wear. If a belt looks glazed or cracked, it gets replaced, not oiled.
- Waiting until the gate stops working to call. By the time a gate refuses to open, the underlying issue has typically been developing for months. Every warning sign in this guide costs less to fix than the failure it precedes. The log helps here, but even without one, calling at the first unusual sound beats calling at midnight when the gate won’t open at all.
When to Call a Professional
Some jobs are maintenance. Some jobs are repairs that happen to look like maintenance. If any of the following are true, stop working on the gate and call a technician: the gate came off its track; the motor produces a burning smell; the gate fails any safety sensor test; limit adjustments don’t resolve over-travel; the operator is hot to the touch after normal use; or you’ve replaced the same part twice in two years, which means something downstream is killing it. Gate Repair Del Paso Park offers free estimates in Del Paso Park, and we work on your brand, not just gates in general. That matters when the issue is a sealed DoorKing gearbox or a LiftMaster logic board rather than a loose bolt. Call (833) 620-4636 and we’ll tell you what you’re dealing with before we ever send a truck.
Frequently Asked Questions
For a standard residential gate inspection with lubrication, sensor testing, and limit adjustment, expect to pay between $95 and $180 in the Del Paso Park area. More complex systems with multiple safety devices or commercial operators run higher. Our free estimates include a full written quote before any work starts, so you’ll never see a surprise line item. Call (833) 620-4636 for exact pricing on your model.
Twice a year for most residential systems in Del Paso Park’s climate. If your gate faces a dusty street or runs more than 15 cycles per day, increase to three times. The most important factor is matching the lubricant to the drive type, which we cover in the lubrication section above.
We maintain same-day availability for gate emergencies throughout the Del Paso Park service area, including gate-off-track situations, unsafe sensor failures, and operators that won’t respond. Repairs are prioritized by safety and severity. Call (833) 620-4636 with a description of the problem and we’ll give you a straight answer on timing.
A full installation from us includes removal of the existing gate if one is present, concrete work for posts or track foundation, gate fabrication or ordering to spec, operator and control board installation, safety sensor configuration, limit setting, remote programming, and a walkthrough of the finished system. We handle power runs and safety edges as part of the scope. Every installation quote is written and itemized before you agree to anything.
Yes. We service LiftMaster, FAAC, BFT, Linear, Viking, Ghost Controls, DoorKing, Elite, and Mighty Mule systems. If your operator isn’t one of those nine, describe the unit when you call and we’ll tell you if we can source the parts. Our repair-first approach means we fix what’s there before recommending a replacement.
Heat affects motor efficiency and viscosity of internal lubricants, and the expansion of metal gate panels in direct Del Paso Park sun creates additional binding at the hinge points. Some slowdown in summer is normal, but anything beyond about 10% is worth investigating. Our seasonal maintenance checklist covers the specific heat-related issues we see most often in this area, and free estimates are available by calling (833) 620-4636.
The Bottom Line
Gate maintenance isn’t complicated, but it is specific. The wrong lubricant in the wrong place does more damage than skipping maintenance entirely. Seasonal checks timed around Del Paso Park’s heat and dust cycles catch most issues before they become repairs. A simple written log turns your observations into diagnostic data that saves money when professional service is eventually needed. For deeper reading, see our Gate Repair Permits, Codes & Inspections in CA: What You Need to Know. Safety testing takes five minutes and can only be skipped once before the worst-case scenario arrives. Run this checklist twice a year, be honest about what you find, and when something fails, call a gate specialist rather than guessing. That’s how gates in this neighborhood stay running for a decade instead of dying in year three.
Written by the team at Gate Repair Del Paso Park, serving Del Paso Park since 2012. Browse more guides & resources.
Need a specific question answered about your gate system? Call (833) 620-4636 for a free estimate and straight answers from technicians who work on gates all day, every day.
See the difference
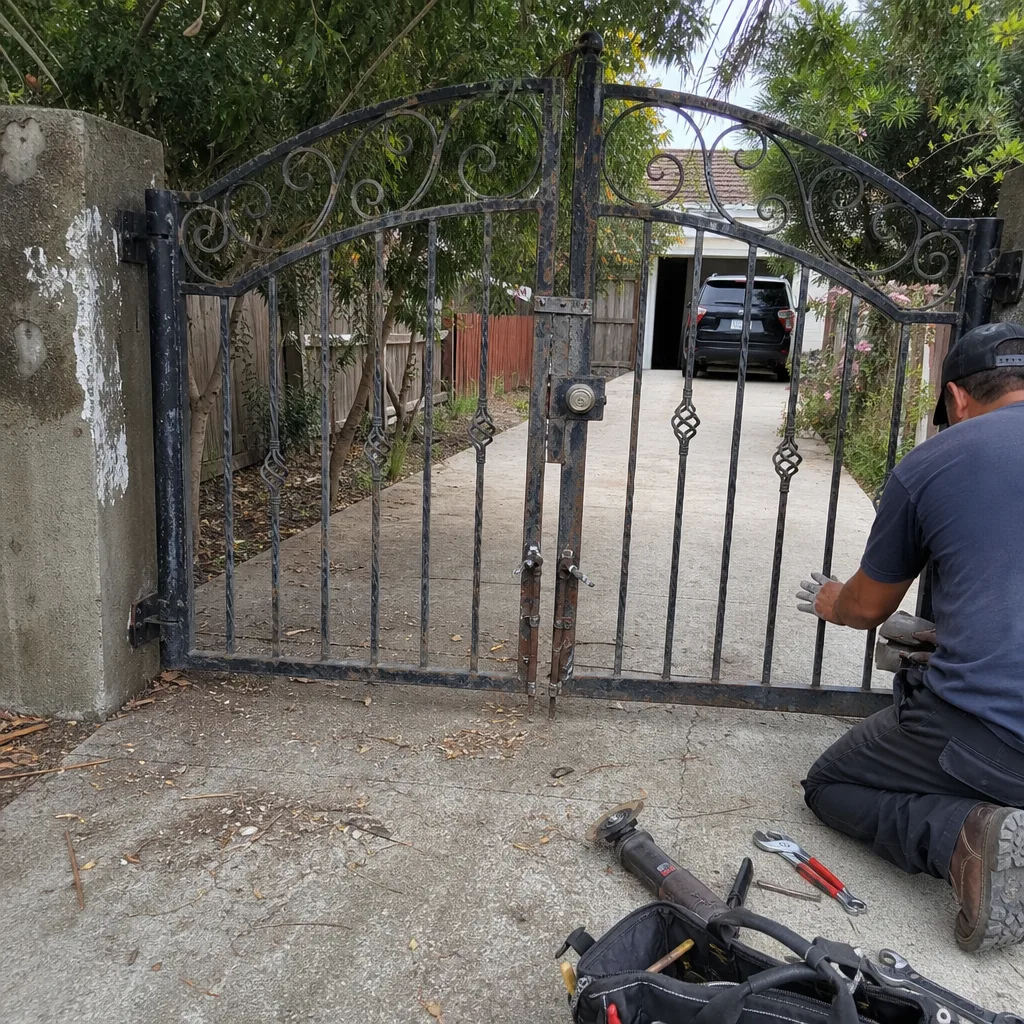 Before
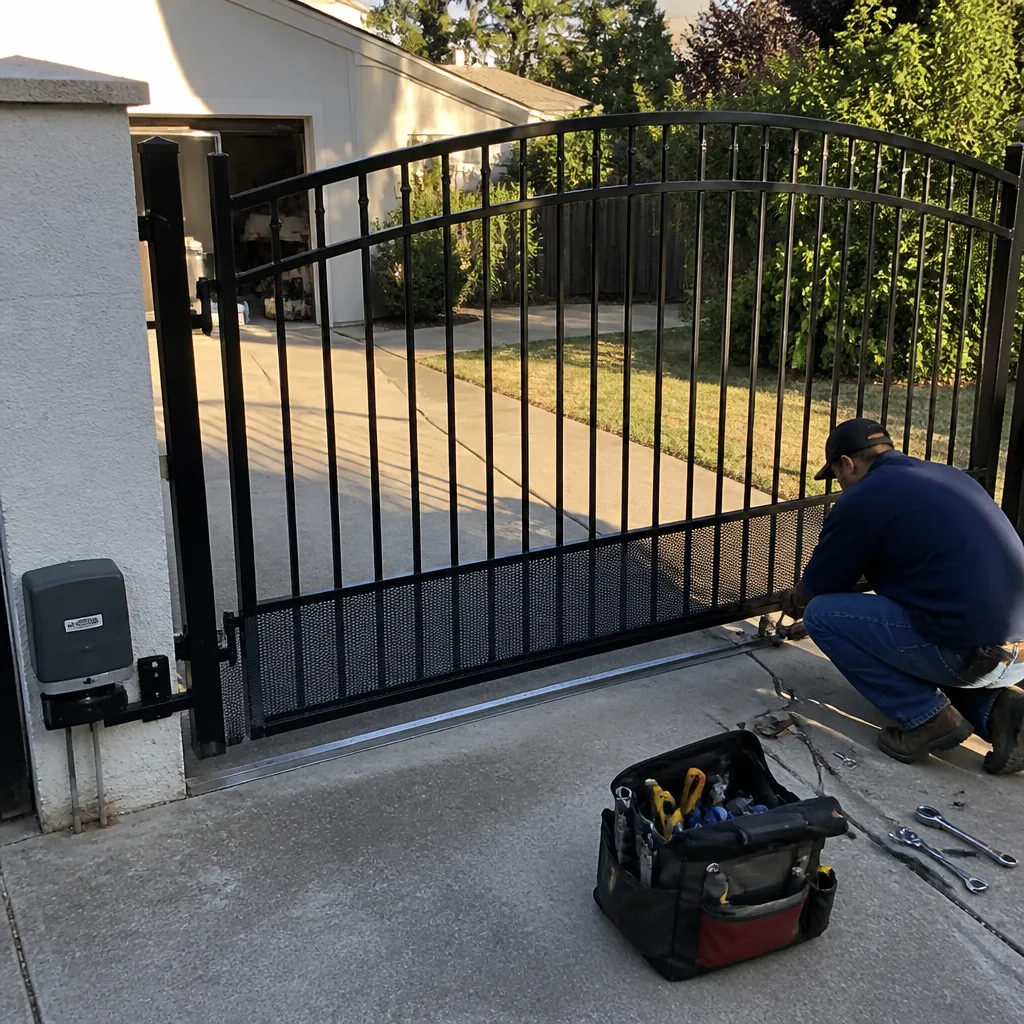 After
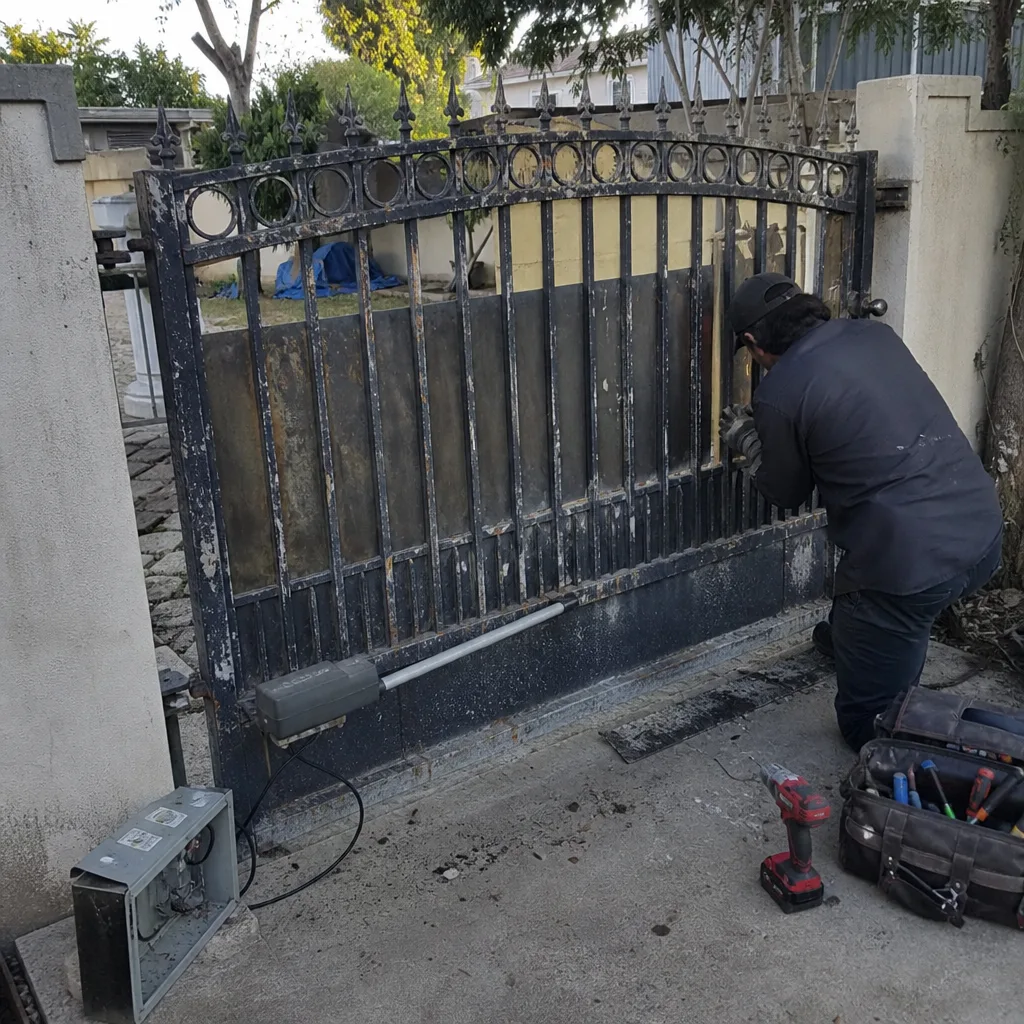 Before
 After
 Before
 After