
Last updated November 2, 2026
 Wrought iron
 Wood & steel frame
 Farm & ranch
 Sliding driveway gates
 LiftMaster operators
Free on-site gate assessment - hinges, posts, and your LiftMaster or Nice gate operator checked before anything is quoted
The assessment is free and the quote is the invoice.
Get your free estimateGate Repair Troubleshooting: Common Problems and How to Fix Them
A gate that opens but won’t close and a gate that won’t open at all can have the exact same root cause: a misaligned limit switch. Most troubleshooting guides treat them as separate problems, which sends you chasing a remote when the real issue is sitting on the operator rail. This guide organizes every common gate problem by observable symptom, not by component, so you reach the actual root cause in minutes instead of replacing parts that still work. We’ve built this from years of gate diagnostics across Del Paso Park, where temperature swings and irrigation overspray create failure patterns you won’t find in a generic manual.
Quick Answer
Gate repair troubleshooting works best when you match the symptom to the component group: intermittent operation points to power or receiver issues, one-direction failure typically means limit switches or sensors, grinding noise indicates mechanical wear, and complete non-response usually traces to the control board or power supply. Start with your operator’s LED fault codes, run a manual override test, and check photo eyes and loop detectors before touching motors or boards. Most residential gate problems are fixable same-day with brand-specific parts.
Styles & brands we work with
- Wrought iron
- Wood & steel frame
- Farm & ranch
- Sliding driveway gates
- LiftMaster operators
Table of Contents
- The Symptom-First Diagnostic Matrix
- Reading LED Fault Codes Without Being Misled
- The Five-Minute Manual Override Test
- Intermittent Operation: Why Your Gate Works Sometimes
- One-Direction Failure: Opens Fine, Won’t Close (or Vice Versa)
- Slow Movement and Grinding Noise
- Complete Non-Response: When Nothing Happens
- Loop Detector and Photo Eye Faults That Disguise Themselves
- When a Reset Fixes It Temporarily
The Symptom-First Diagnostic Matrix
Here’s what we’ve learned from troubleshooting thousands of gates in the Del Paso Park area: the symptom you see is rarely the component that failed. A gate that creeps, a gate that slams, and a gate that buzzes without moving can all trace back to a single failing capacitor. Working symptom-first keeps you from replacing a motor when the board was the problem, or a board when the power supply was the issue all along.
- Intermittent operation (works sometimes, fails other times): receiver, transformer, or loose wiring in the control box. Rarely the motor itself.
- One-direction failure (opens but won’t close, or closes but won’t open): limit switch, photo eye, or edge sensor. Almost never the operator arm.
- Slow or labored movement: capacitor, hinge wear, or low voltage at the operator. If the gate moves but strains, check these before the motor.
- Grinding, squealing, or rattling: chain tension, pulley bearings, or hinge lubrication. Mechanical, not electrical.
- Complete non-response (no click, no buzz, no movement): control board, transformer, or incoming power. The motor is fine until proven otherwise.
In Del Paso Park specifically, we see more capacitor and power-supply failures than the state average, largely because our summer heat cycles push electronic components harder than coastal climates do. If your gate starts failing in July and August, heat-related component degradation belongs at the top of your list.
If you’re not sure where your problem falls, check our Gate Repair Del Paso Park home page for an overview of what a full diagnostic covers.
Reading LED Fault Codes Without Being Misled
Most automatic gate operators made in the last 15 years, including Linear, Viking, Ghost Controls, and DoorKing models, have a control board with diagnostic LEDs that blink in specific patterns to report faults. These codes are the fastest starting point, but they have a limitation most homeowners don’t know: the board reports what it sees, not necessarily what caused the problem.
A “photo eye obstruction” code on a Viking operator, for example, may genuinely mean a leaf is blocking the beam. It may also mean the photo eye’s wiring has corroded, the eye itself has failed, or moisture has shorted the connector. The board can’t tell the difference. It just knows the circuit is open.
Here’s how to use fault codes without being misled:
- Find the LED pattern. Open the control box and locate the diagnostic LED. Note the number of blinks between pauses.
- Match it to the chart. Your operator’s manual has a blink-code table. DoorKing and FAAC boards often print the code directly on the PCB label.
- Treat the code as a circuit, not a component. A “limit switch” code means the limit circuit is open or shorted. That could be the switch, the wiring, the harness, or the board’s input.
- Test the component independently. Before replacing anything, test the flagged component with a multimeter at the board terminals. If the component tests good, the problem is wiring or the board.
- Look for a second fault. Many failures cascade. A failing capacitor can cause a motor-overload code. Fixing the overload without addressing the capacitor means the code returns in a week.
We’ve followed this sequence on hundreds of Del Paso Park service calls. It’s the difference between replacing a $12 limit switch and a $400 control board, and it’s why we stock components for nine operator brands including Linear, Viking, and Ghost Controls rather than gambling on universal parts.
The Five-Minute Manual Override Test
Before you open a single panel or buy a single part, run this test. It’s the fastest way to know whether your problem is mechanical or electrical, and it takes most people under five minutes.
- Locate the manual release. Most operators have a release lever, key, or pull handle on the operator body or the arm. Linear and Ghost Controls residential arms typically have a pull-release. DoorKing and Viking slide operators have a keyed release on the side.
- Disengage the operator. Pull the release or turn the key. You should hear a click and the gate should move freely by hand.
- Push the gate through its full travel. Swing or slide it open and closed manually. Feel for resistance, binding, grinding, or spots where the gate catches.
- Check the hinges or rollers. If the gate binds anywhere along its travel, that’s a mechanical problem, not an operator problem. Free the obstruction or repair the hardware before re-engaging the operator.
- Re-engage the operator and test. If the gate moved smoothly by hand but still fails under power, your problem is electrical or electronic. That points to the board, capacitor, power supply, or motor.
This test is especially useful in Del Paso Park because our heavy clay soil shifts with winter rains. Gate posts settle, hinges sag, and gates that worked in October bind by January. A mechanical bind that overloads the operator looks exactly like a motor failure, and the manual test separates them in minutes.
We use this same test as step one on nearly every diagnostic call, including our Electric Gate Repair in Robla work, where the same soil and settlement patterns apply.
Intermittent Operation: Why Your Gate Works Sometimes
Intermittent failures are the most frustrating gate problem because the gate works when you test it and fails when you need it. The good news is that intermittent operation narrows the field considerably: the motor itself is almost never intermittent. Motors fail dead or they run weak. Intermittent behavior points to the receiver, the transformer, loose wiring, or a control board with a hairline solder crack.
Start here:
- Check the battery in your remote first. A weak remote battery produces intermittent operation. Replace it and see if the problem disappears. This is the cheapest possible fix.
- Test with a second remote or keypad. If a wall-mounted keypad works reliably while remotes don’t, the receiver board is suspect. If everything is intermittent, look at power.
- Inspect the transformer wiring. The 24-volt transformer that feeds your control board has thin gauge wire. Loose wire nuts, corrosion on the terminals, or a failing transformer produce exactly this symptom.
- Look for loose connections in the control box. Every time the gate cycles, vibration works connections loose over months or years. Tighten terminal screws and check for arcing or heat discoloration.
- Consider the receiver antenna. On operators with an external antenna, a broken or corroded antenna connection weakens signal intermittently. On Linear and Ghost Controls systems with internal antennas, bring the remote closer and see if reliability improves.
In Del Paso Park, we also check for irrigation overspray hitting the control box. A surprising number of intermittent gate failures trace back to sprinkler heads that soak the operator housing every morning. Moisture in the control box causes corrosion that comes and goes with temperature and humidity.
One-Direction Failure: Opens Fine, Won’t Close (or Vice Versa)
A gate that opens but won’t close is different from a gate that won’t open, but they share more causes than most people expect. The most common root cause of both is a misaligned or failed limit switch.
Limit switches tell the operator where the gate is in its travel. On a swing gate, they tell the arm when to stop at full open and full close. On a slide gate, they sit near the rack and trip at each end of travel. When the “close” limit switch fails, the gate opens fine but the operator doesn’t know the gate reached full open, so it never starts closing. A failed “open” limit switch produces the opposite.
Other causes of one-direction failure:
- Photo eyes misaligned or dirty. The photo eyes only matter when the gate is closing. A dirty or misaligned eye blocks the close cycle while allowing the gate to open freely. This is the most common cause of “opens but won’t close” we see in Del Paso Park.
- Edge sensor fault. Gates with safety edges reverse on close when the edge is pinched, cut, or waterlogged. The edge reads as “obstructed” and the operator refuses the close command.
- Board logic issue. Some operators, particularly older DoorKing models, develop board faults where one relay burns out and one direction stops getting power. If the motor hums when you command the failed direction, test the relay.
Test the manual override first. If the gate moves freely by hand in both directions, start with limit switches and photo eyes before anything else. If your gate repair in Robla or around Del Paso Park involves a swing gate that catches wind, misaligned photo eyes are even more likely because the gate flexes in gusts and knocks the beams out of alignment.
Slow Movement and Grinding Noise
Slow gate movement and grinding noise are mechanical symptoms, and they have mechanical causes. The operator arm or motor is usually working fine, it’s fighting resistance somewhere along the travel path. Treating these symptoms as electrical problems, which many homeowners do, wastes time and money.
For slide gates, the most common causes in order are:
- Debris in the track. Leaves, gravel, and dirt accumulate in the V-track or square track. The gate drags, slows, and grinds. Clean the track thoroughly and check for damage.
- Worn or misadjusted rollers. Roller bearings fail over time, especially on heavy steel gates. A seized roller drags and grinds. Replace worn rollers before they damage the track.
- Chain or belt tension loss. A loose chain rattles, slips, and causes jerky movement. Tighten per the manufacturer spec, but don’t overtighten or you’ll kill the motor bearings.
- Rack alignment issues. The rack that the operator’s gear runs on can shift if the gate’s foundation settles. Misaligned rack causes grinding at specific points in travel.
For swing gates:
- Hinge wear. Gravity-loaded hinges wear out. The gate sags, drags on the ground, and moves slow. Replace hinges in pairs, not singles.
- Post settlement. Del Paso Park’s clay soil expands and contracts hard with seasonal moisture. Gate posts shift, and a gate that swung freely in dry weather binds in wet weather.
- Lack of lubrication. Hinge pins and operator arm joints dry out and grind. Use a silicone or lithium grease, not WD-40.
Grinding noise that comes from inside the operator housing itself, rather than along the gate’s travel path, is different. That points to internal gear wear, and on residential arms like Ghost Controls and Mighty Mule, internal gear replacement may not be cost-effective compared to a new operator.
Complete Non-Response: When Nothing Happens
Complete non-response, no click, no buzz, no movement, is the failure mode that makes people reach for the phone fastest. Before you call, check three things. You may fix the problem in five minutes, and even if you don’t, you’ll have eliminated the trivial causes a technician is going to check first.
- Verify incoming power. Check the breaker that feeds the gate. In many Del Paso Park homes, the gate outlet shares a circuit with outdoor lighting or a pool pump, and a tripped GFCI elsewhere on the circuit kills the gate. Reset the breaker and GFCI before doing anything else.
- Check the transformer output. If you have a multimeter, test the 24-volt output at the transformer terminals in the control box. No 24 volts means a dead transformer, not a dead board.
- Bypass the remote. Try the wall-mounted pushbutton or keypad directly. If the gate works from the keypad but not from any remote, the receiver board is dead while the rest of the system is fine.
If power is confirmed and the operator still does nothing, the most likely culprits are the control board and the motor capacitor. Capacitors fail open silently, and a dead capacitor means the motor can’t start even though power reaches the board. A multimeter with capacitance testing can confirm it, but most homeowners don’t have one. At that point, calling a technician is the fastest path to a fix.
Gate Repair Del Paso Park works on all of it: motors, boards, capacitors, and the full operator. For gate installation in Robla and surrounding areas, we can also upgrade a dead system to a new operator without replacing the whole gate.
Loop Detector and Photo Eye Faults That Disguise Themselves
Here’s the category most troubleshooting guides skip entirely, and it’s the reason we get called out to replace motors that turn out to be fine. Loop detectors and photo eyes fail in ways that look like motor, remote, or board problems. If you don’t know to check them, you’ll chase the wrong component for days.
Loop detectors are those buried wire loops in your driveway that sense a vehicle and trigger the gate to open. They fail in two main ways:
- False triggering. A failing loop emits continuous “vehicle present” signals, and the gate opens by itself, reopens after closing, or refuses to close because it thinks a car is sitting on the loop. This looks exactly like a possessed board.
- Failure to trigger. A dead loop never registers vehicles, so the gate won’t open automatically for approaching cars. This looks like a remote problem because the gate opens fine with a transmitter.
Photo eyes fail in their own disguise patterns:
- Blocked beam in bright sunlight. Del Paso Park gets brutal afternoon sun, and photo eyes facing west catch direct sunlight that washes out the beam. The gate refuses to close in the afternoon but works fine in the morning. This looks like an intermittent board fault.
- Moisture in the housing. Morning dew and irrigation overspray get into photo eye housings, short the circuit, and clear by midday. The gate misfires in the morning and works by afternoon.
We’ve seen multiple Del Paso Park homeowners replace remotes, batteries, and even boards before discovering a photo eye housing packed with spider eggs. Check the eyes and loops before condemning anything electronic.
When a Reset Fixes It Temporarily
A gate that works after a power reset but fails again hours or days later is giving you a specific diagnostic clue. The reset is clearing a fault, but the underlying condition causing that fault remains. The pattern of failure tells you what to check.
If the gate works for a few cycles after a reset and then fails:
- Capacitor failure. A capacitor that can hold enough charge for a few cycles before draining points to a nearly-failed capacitor. This is the most common “works after reset” pattern we see on residential arms in Del Paso Park, especially on hot afternoons.
- Board overheating. If the gate works in the morning and fails in the afternoon heat, the control board may have a thermal fault. Resetting cools nothing, but the board recovers when the temperature drops, which looks like the reset fixed it.
- Power supply sag. A transformer that delivers just enough voltage when cool and drops output as it warms produces resets that seem to fix things until the transformer gets hot again.
The key distinction: if a reset fixes the gate for days or weeks, you probably cleared a transient fault and you’re fine. If the reset fixes it for minutes or hours, you have a component that is actively failing and will die completely, usually at the worst moment. A gate that needs regular resets is a gate that’s about to stop working for good.
On the other hand, if your gate is beyond that point and won’t recover at all, it’s time for a professional diagnostic. That’s exactly what our Gate Repair services are for, and we’d rather catch a failing capacitor in the driveway than leave you locked out.
Common Mistakes to Avoid
- Replacing the remote battery before checking the breaker. Plenty of “remote failures” in Del Paso Park are tripped GFCIs. Check power first, batteries second.
- Buying a universal remote before confirming the receiver frequency. Gate remotes are not interchangeable across brands, and a universal remote often comes set to the wrong frequency. You need a brand-specific remote matched to your operator.
- Lubricating the photo eye lenses. Photo eyes don’t need grease. Lubricant attracts dust and blocks the beam worse than before. Clean lenses with a dry cloth only.
- Forcing an operator with a blown capacitor. Repeatedly sending an open/close command to an operator whose motor can’t start burns up the windings. If you hear a hum but no movement, stop sending commands and diagnose the capacitor.
- Adjusting limit switches without marking the original positions. One wrong turn can send your gate past its travel stop and bend the arm. Mark or photograph the positions before touching anything.
- Ignoring slow movement as cosmetic. Slow operation is never cosmetic. It means increased load, and increased load kills motors faster than anything else. Find the mechanical cause before the operator dies.
- Resetting the breaker repeatedly without investigating. A breaker that trips once is an anomaly. A breaker that trips repeatedly is a symptom. Find the short before the component takes the board with it.
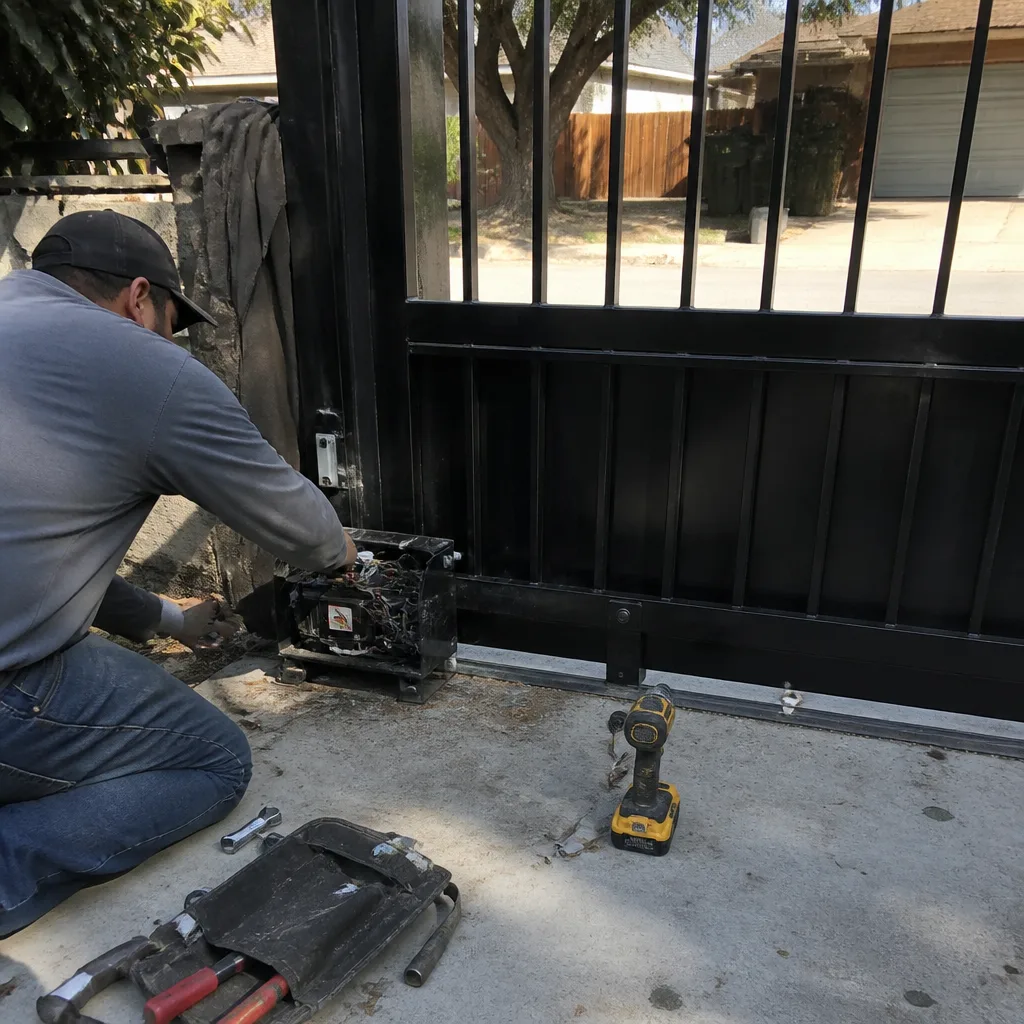
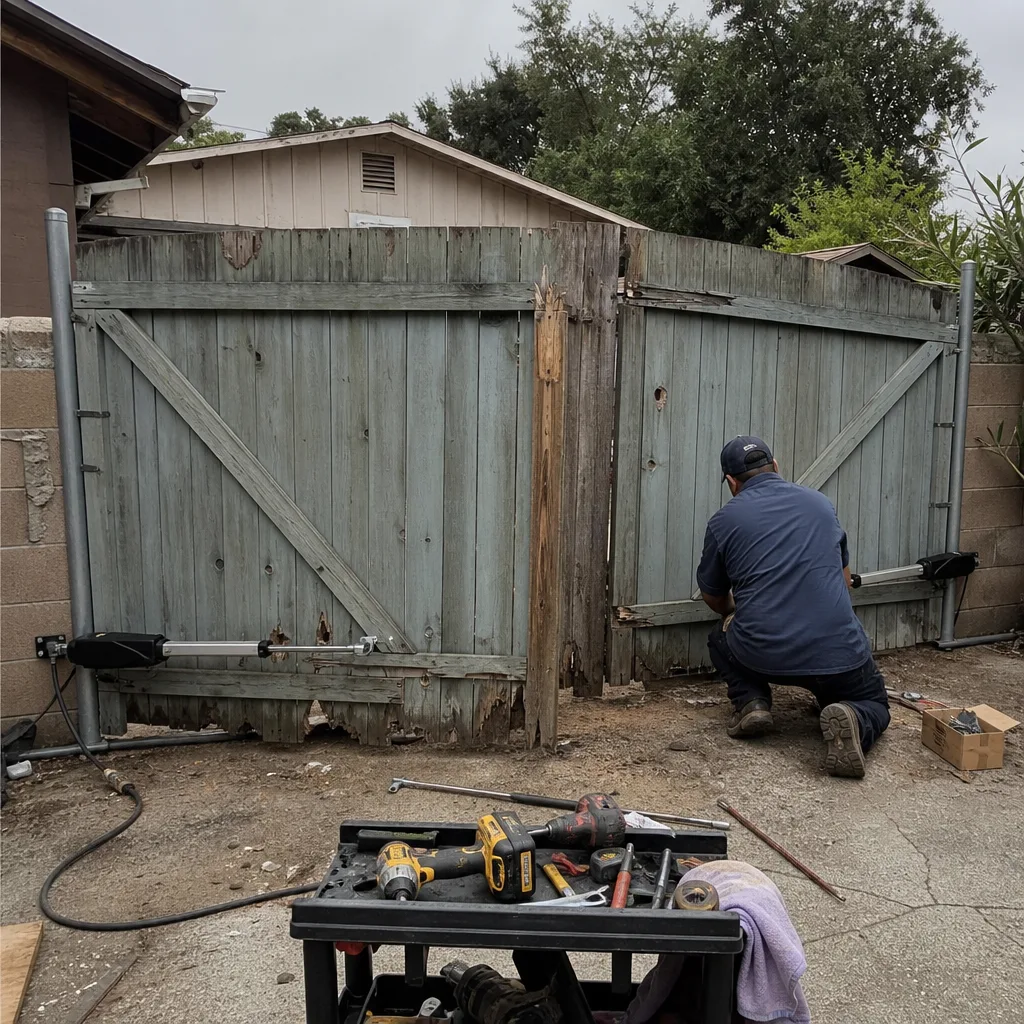
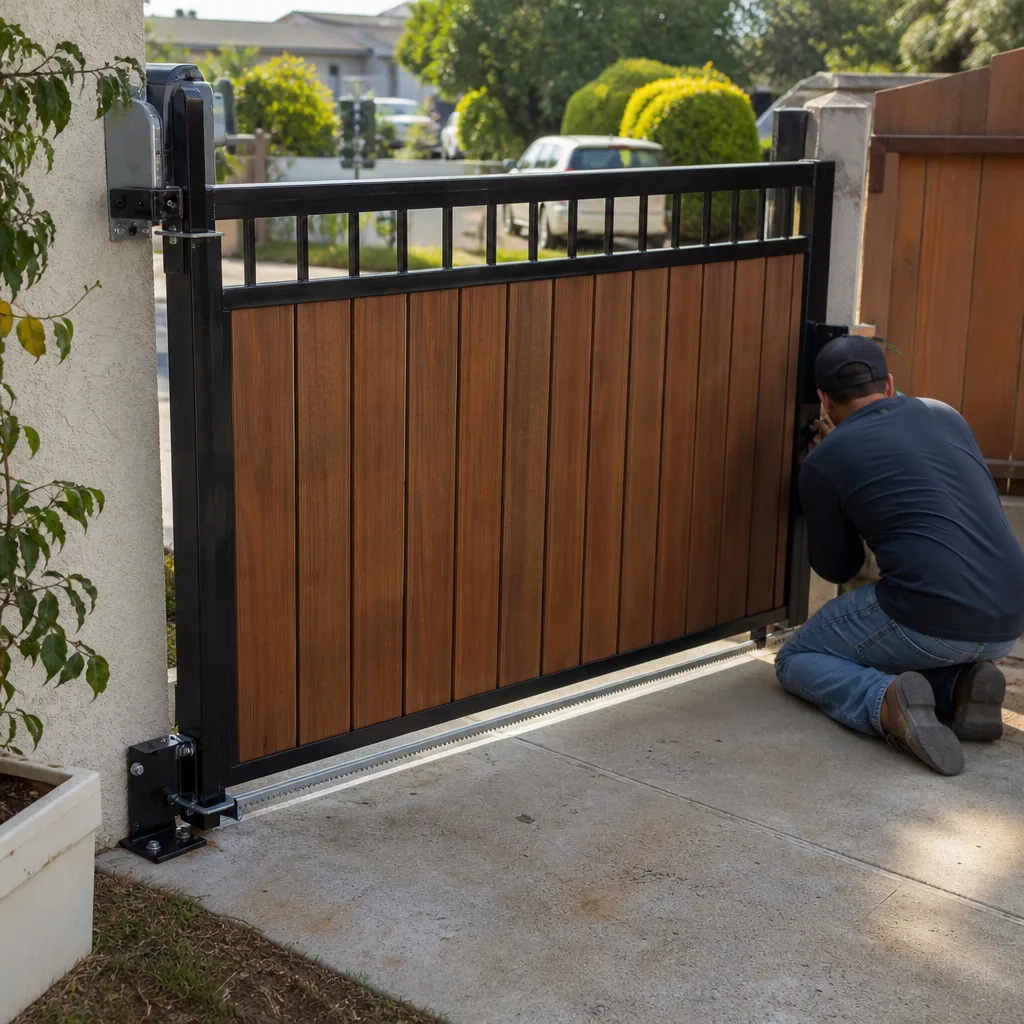
See the difference
 Before
 After
 Before
 After
 Before
 After
When to Call a Professional
Call a professional when the problem involves high-tension springs, a control board with visible burn marks, a motor capacitor you can’t test, or any failure you can’t confidently diagnose after running the manual override test. Gate operators mix line voltage with low voltage, and the wrong move at the wrong terminal can send 120 volts through a board designed for 24. If you’ve checked power, confirmed the manual release works, and the gate still won’t run, you’re past the point of DIY fixes and into component testing that requires a meter and brand-specific knowledge.
Gate Repair Del Paso Park offers free estimates in Del Paso Park. Call (833) 620-4636.
Frequently Asked Questions
A gate that opens by itself is usually a failing loop detector that’s sending a continuous “vehicle present” signal, or a receiver board picking up interference from a nearby transmitter on the same frequency. Check for irrigation water near the loop wires and look for a neighbor with a new gate remote.
Most Del Paso Park gate repairs run between $150 and $450 for common fixes like limit switches, photo eye realignment, capacitor replacement, and receiver board swaps. Full operator replacement costs more and depends on brand. Call (833) 620-4636 for a free estimate that’s quoted and agreed before any work starts.
In most cases in the Del Paso Park area, yes. We stock parts for Linear, Viking, Ghost Controls, DoorKing, and five other major operator brands, so the component your gate needs is usually in the truck, not on order. Call (833) 620-4636, describe the symptom, and we’ll tell you if it’s a same-day fix.
We work on nine major gate operator brands: LiftMaster, FAAC, BFT, Linear, Viking, Ghost Controls, DoorKing, Elite, and Mighty Mule. The range matters because a repair-first approach means fixing what’s already installed, not replacing a working operator just because the technician doesn’t know the brand.
Repair is usually the right call when the gate structure, hinges, and track are in good shape and the operator is under 10 years old. Replacement makes sense when the operator has internal gear wear, a burned board with multiple failed components, or is a discontinued brand with parts that are hard to source. We’ll quote both options and you decide.
Yes. We handle the full gate lifecycle: repair, electric gate diagnostics, and complete new gate installation. That means if the diagnostic shows your operator is beyond repair, you don’t need to call another contractor to handle the replacement. One call covers it.
The Bottom Line
Gate troubleshooting goes fastest when you work from symptoms, not guesses. Start with the manual override test to separate mechanical from electrical problems, read your fault codes but verify the component they’re flagging before replacing anything, and check photo eyes and loop detectors before touching motors or boards. Intermittent problems point to power and signal, one-direction failures point to limits and sensors, and a reset that only helps briefly points to a component that’s actively dying. When you’re past what you can safely test, see How to Hire a Gate Repair Contractor in Del Paso Park: A Step-by-Step Guide or call a specialist who knows your operator’s brand. That’s the difference between a thirty-minute fix and a week of frustration.
Written by the team at Gate Repair Del Paso Park, serving Del Paso Park since 2012. Explore more guides & resources on our blog.